
How to Install Magento 2 on ubuntu with Windows 10/11 WSL

Installing Magento 2.4.4 on Ubuntu 20.04 with Nginx involves several steps, including setting up the server environment, configuring the web server, and installing Magento. Here’s a step-by-step guide to help you with the installation process.
Step 1: Enable the Windows subsystem for Linux feature
- Open Control Panel
- Click on Programs option
- Select the Turn Windows features Turn on or off
- Scroll down and find Windows Subsystem for Linux
- When it appears to select its checkbox and click on the OK button.
- In a few minutes, the Windows Subsystem for Linux (ASL) will automatically get installed on the system.
- After installation, click the System Restart Now button.
After the installation, go to the Microsoft store and download the Ubuntu app to play with.
Once we installed Ubuntu or other Linux apps on Windows then just go to search box and type its name. For example, we have installed Ubuntu, so we typed Ubuntu.
The first time you launch a newly installed Ubuntu distribution, a console window will open, and you’ll be asked to wait for a minute or two for files to de-compress and be stored on your PC. All future launches should take less than a second.
You will then need to create a user account and password for your new Ubuntu distribution.
Step 2: Install Nginx
Run Ubuntu to install Nginx + PHPs on Windows 10/11 WSL.
The first thing which we do is to update the Ubuntu WSL, use the below-given command:
sudo apt-get update
sudo apt-get upgrade
Second is the running of commands to install Nginx on Windows 10/11 Ubuntu WSL:
sudo add-apt-repository ppa:nginx/stable
sudo apt-get update
sudo apt-get install -y nginx
now we’ve successfully installed the Nginx on our Windows 10 WSL ubuntu app, now the thing which we must do is starting off its service. For that use the below command:
sudo service nginx start
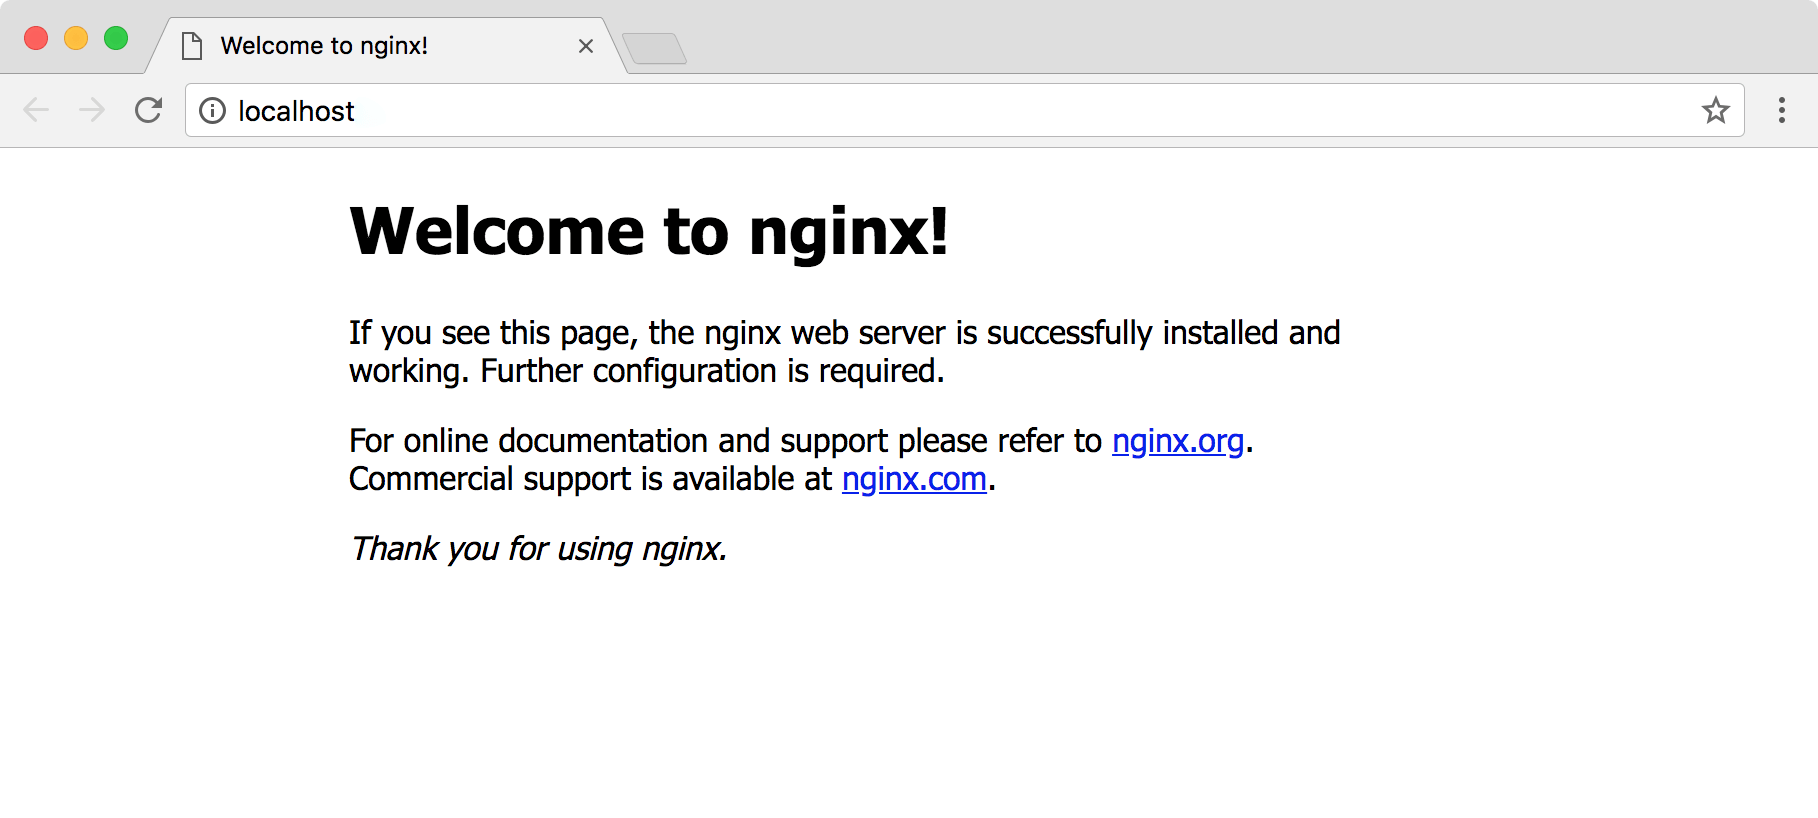
Then test Nginx webserver
http://localhost
It will show the welcome screen of this web server as shown below in the screenshot.
Step 3: Installing PHP
sudo add-apt-repository ppa:ondrej/php
Check the latest PHP version available to install
sudo apt-cache show php
According to the available version, install the following PHP modules, in our case the latest version was php8.1
Next, install PHP and its extensions required by Magento.
sudo apt install software-properties-common && sudo add-apt-repository ppa:ondrej/php -y sudo apt update
Run the following command to install the latest stable version of PHP 8.1 and all its modules.
sudo apt install php8.1-{bcmath,common,curl,fpm,gd,intl,mbstring,mysql,soap,xml,xsl,zip,cli}
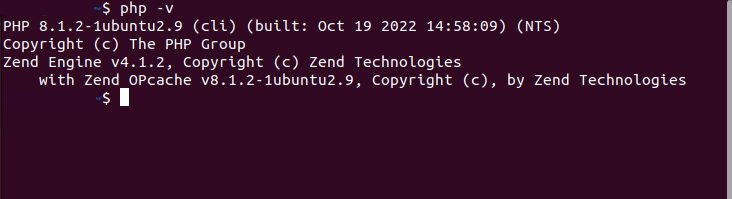
Check the installed version
php –v
Start PHP-fpm service
Here is the command to start the installed PHP-fpm service:
sudo service php8.1-fpm start
Step 4: Install Database (MariaDB)
Next Install MariaDB
sudo apt update

sudo apt install mariadb-server

sudo mysql_secure_installation
Create a MariaDB Database for magento 2:
sudo mysql -u root

CREATE DATABASE magento2;

CREATE USER 'magento'@'localhost' IDENTIFIED BY 'your_password';

GRANT ALL PRIVILEGES ON magento2.* TO 'magento'@'localhost';

FLUSH PRIVILEGES;

EXIT;
Step 5: Install Composer
Next Install Composer
Run the commands below to download the Composer binary. Magento requires Composer 2.2 LTS so we have modified the command accordingly.
php -r "copy('https://getcomposer.org/installer', 'composer-setup.php');"

php composer-setup.php --2.2

php -r "unlink('composer-setup.php');"

Install Composer by moving the binary to the /usr/local/bin directory.

sudo mv composer.phar /usr/local/bin/composer
Verify the installation by checking its version.
composer –version


Step 6: Install Elasticsearch
So, let’s install and configure it.
Install Elasticsearch
First, we will install Openjdk17 (Java) as Elasticsearch runs on Java:
sudo apt install openjdk-17-jdk
Next, verify if the java was installed properly and check its version with this syntax
java -version
The first step is to import the GPG key for Elasticsearch packages using the following command:
sudo apt install curl
Once done, run the below command: –
sudo curl -sSfL https://artifacts.elastic.co/GPG-KEY-elasticsearch | sudo gpg --no-default-keyring --keyring=gnupg-ring:/etc/apt/trusted.gpg.d/magento.gpg --import
Then you need to add Elasticsearch repository to the system using the following command:
sudo sh -c 'echo "deb https://artifacts.elastic.co/packages/7.x/apt stable main" > /etc/apt/sources.list.d/elastic-7.x.list'sudo chmod 666 /etc/apt/trusted.gpg.d/magento.gpg
After completing the above steps, you must first update the cache using the following commands.
Then install Elasticsearch packages on the system:
sudo apt updatesudo apt install elasticsearch
Finally, you can use the following commands Start and enable the Elasticsearch service:
sudo systemctl daemon-reloadsudo systemctl enable elasticsearch.service
Configure Elasticsearch
sudo nano /etc/elasticsearch/elasticsearch.yml
Search for the line that contains network.host, uncomment it, and change the value to 0.0.0.0. Set the network host to 0.0.0.0 to listen on all interfaces and make it available publicly,
network.host: 127.0.0.1
http.port: 9200
Then run
sudo systemctl daemon-reload
sudo systemctl start elasticsearch.service
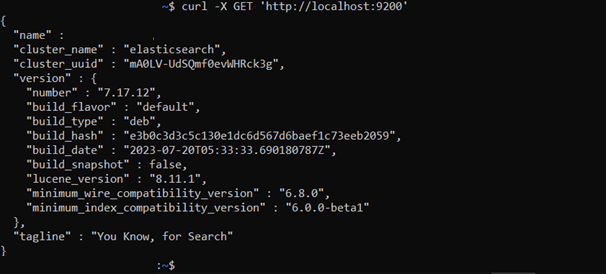
Testing Elasticsearch
By now, Elasticsearch should be running on port 9200. You can test this using curl, the command-line tool for client-side URL transfers. To test the service, make a GET request like this:
curl -X GET 'http://localhost:9200'

Step 7: Download Magento 2
Download Magento 2:
cd /var/www/html/

sudo composer create-project --repository-url=https://repo.magento.com/ magento/project-community-edition magento
Set file permissions
cd /var/www/html/<magento install directory>

Sudo find var generated vendor pub/static pub/media app/etc -type f -exec chmod g+w {} +

sudo find var generated vendor pub/static pub/media app/etc -type d -exec chmod g+ws {}

+

sudo chown -R user_name:www-data .

sudo chmod u+x bin/magento
Step 8: Install Magento 2
Everything is ready, now we will run the final command to install Magento 2.4.
First, change the current directory to your website folder (this is also where you downloaded Magento 2 data in step 3)
Go to Magento 2 install directory.
cd /var/www/html/<magento install directory>
You must use the command line to install Magento.
php bin/magento setup: install --base-url=<your-domain> --db-host=localhost --db-name=magento2 --db-user=magento2 --db-password=<your-db-password-of-magento2-user> --admin-firstname=Admin --admin-lastname=Admin --admin-email=admin@admin.com --admin-user=admin --admin-password=<your-admin-password> --language=en_US --currency=USD --timezone=America/Chicago --backend-frontname=admin --search-engine=elasticsearch7 --elasticsearch-host=localhost --elasticsearch-port=9200
Replace the following information with your information
–base-url : your domain, eg: magento.localhost. You can change this base URL later if you make mistake.
–db-host: Database host, input localhost if you follow my tutorial
–db-name: name of the database we created in step 2
–db-user: name of the database user we created in step 2
–db-password: password of your MySQL user
Now composer will start installing Magento 2.4. The process will take a while (approximately 20 minutes)
Step 9: Setup Virtualhost for nginx
Then Create virtual host for run web browser
Configure Nginx:
Create a Nginx server block (virtual host) for Magento. Create a new configuration file for your site:
Sudo nano /etc/nginx/sites-available/magento2
Add the following configuration (replace your_domain with your desired domain name or use localhost for local development):
server {

    listen 80;

    server_name your_domain;


    root /var/www/html/magento/;

    index index.php;


    location / {

        try_files $uri $uri/ /index.php?$args;

    }


    location ~ \.php$ {

        include snippets/fastcgi-php.conf;

        fastcgi_pass unix:/var/run/php/php8.1-fpm.sock;

    }


    location ~ /\.ht {

        deny all;

    }

}
Save the file and exit the text editor.
Enable the Nginx site:
Create a symbolic link to enable the site configuration:
Sudo ln -s /etc/nginx/sites-available/magento2 /etc/nginx/sites-enabled/
Test Nginx configuration and restart Nginx:
Check for syntax errors in the Nginx configuration:
Sudo nginx -t
If there are no errors, restart Nginx:
Sudo systemctl restart nginx
Finalize the Installation:
Complete the Magento 2 installation via the web interface.
We hope this guide has been useful in teaching you how to install magento 2 on ubuntu with windows 10/11 WSL. At Autify Digital, we can help install it for you through our magento web design services so be sure to reach out to us.
Read More Blogs

SEO vs PPC: Which Works Best For Jewellers
Did you know, 75% of online search engine users never make it past the first

UK Business & Innovation Awards 2022 Finalists
Autify Digital are finalists for not one, but TWO categories at the UK

Ecommerce Keyword Research: A Guide for Beginners
Ecommerce keyword research is the process of finding the most relevant search
connect
Let’s Get to Work
Want to get your business noticed? We can’t wait to see how we can support you. Get in touch today and let’s get to work!
Get Started